When my cousins introduced me to Inkodye last summer, it’s fair to say that I became obsessed. I have no doubt this will happen to you once you try it out. You will start looking at ordinary objects for shape and want to print them! It’s also great fun to try with your photography.
Here’s how it works; print photography as a black and white negative (to order a negative go here or for instructions to do it yourself in Photoshop go here) or collect objects for shape, spread the Inkodye thinly on fabric or wood, place your photo or objects over the Inkodye and then take it all out in the sun to develop. The Lumi website will give you much more info and examples here.
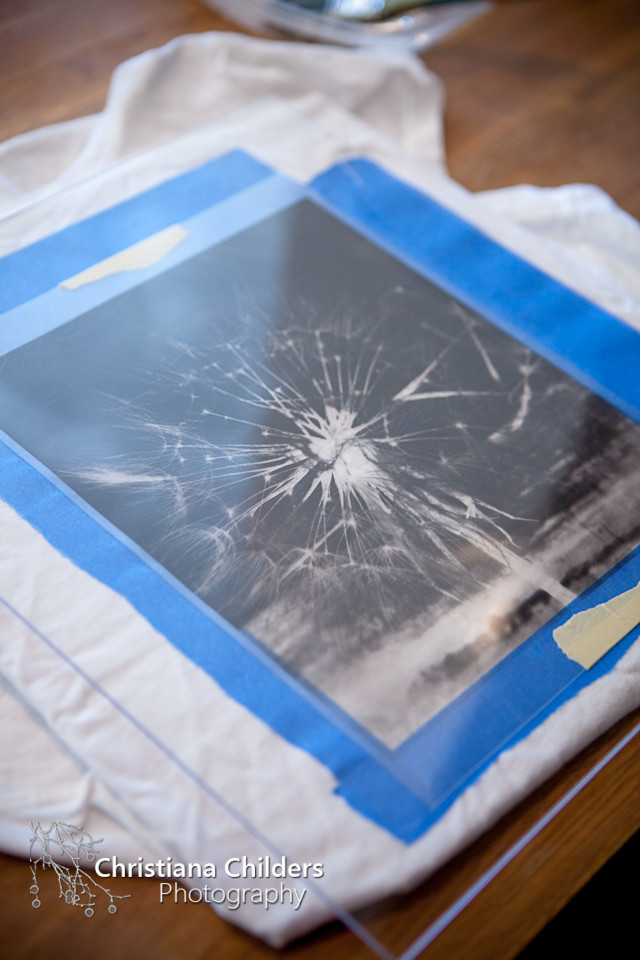
I pulled my images into Photoshop to create a negative and then had Kinkos print them into transparency sheets. I had them print two of each image so that I could make sure that the dark parts were really dark.
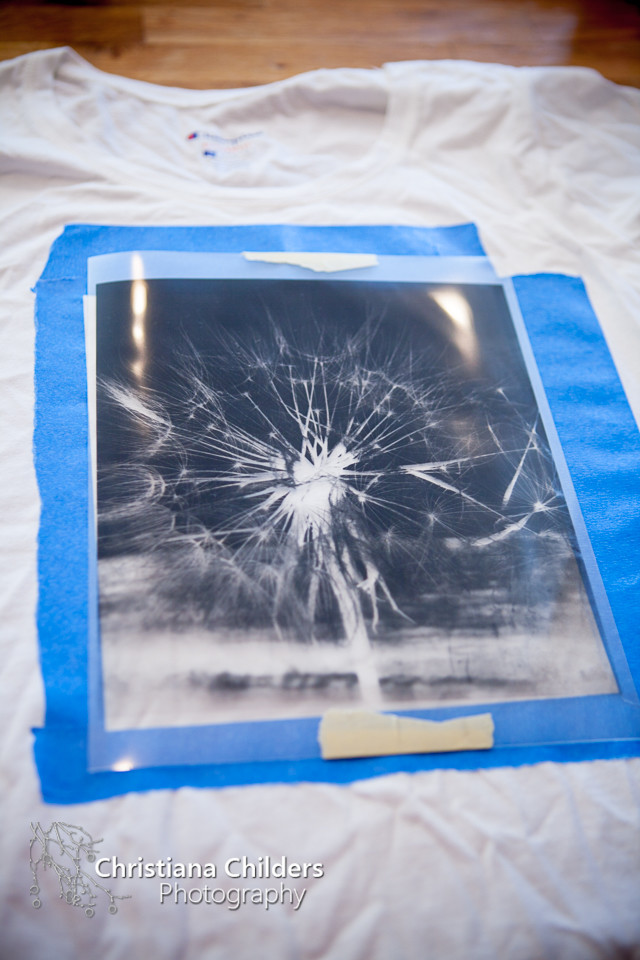
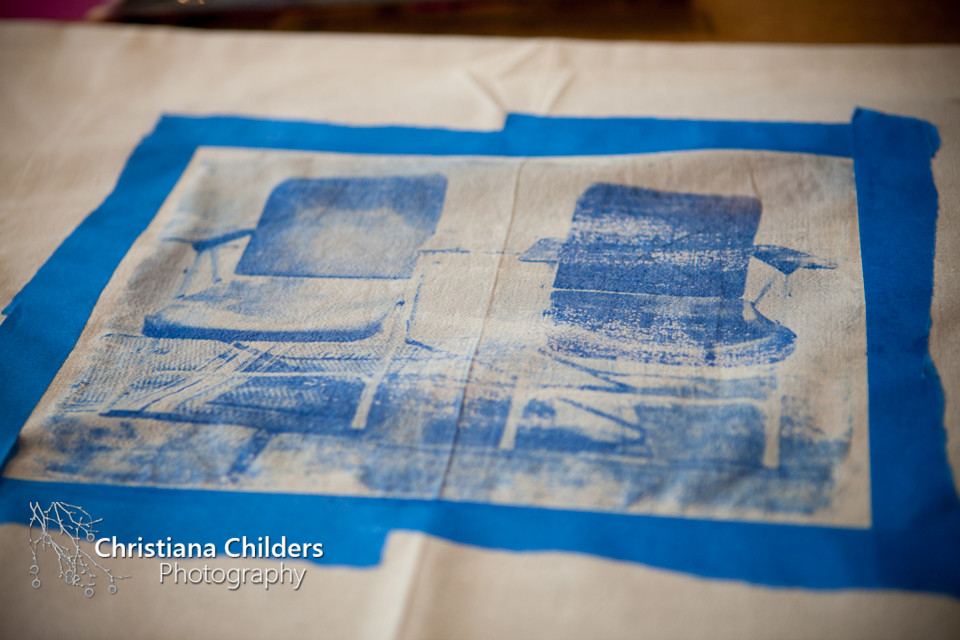
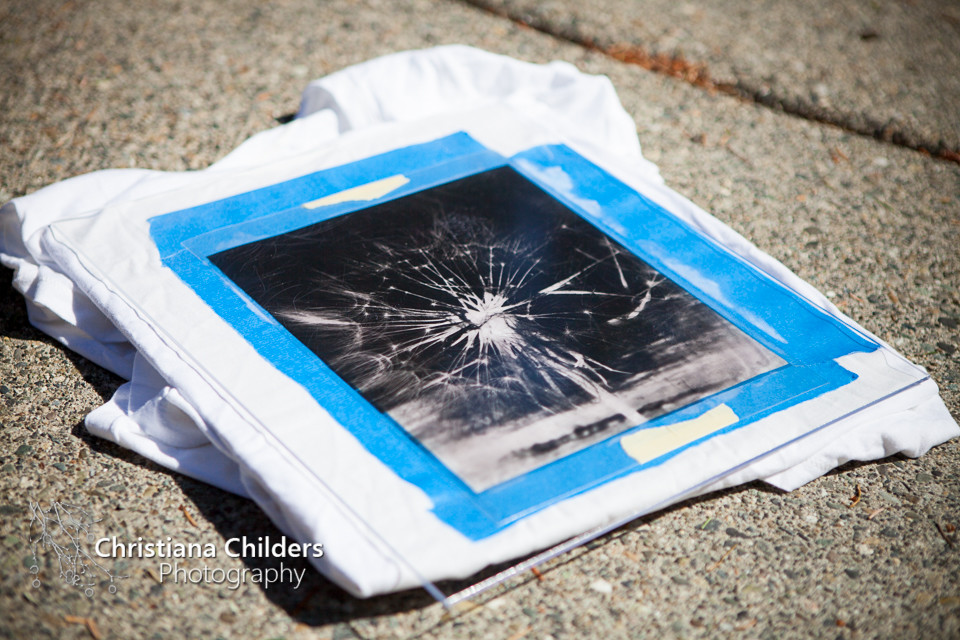
Here’s some of the process-

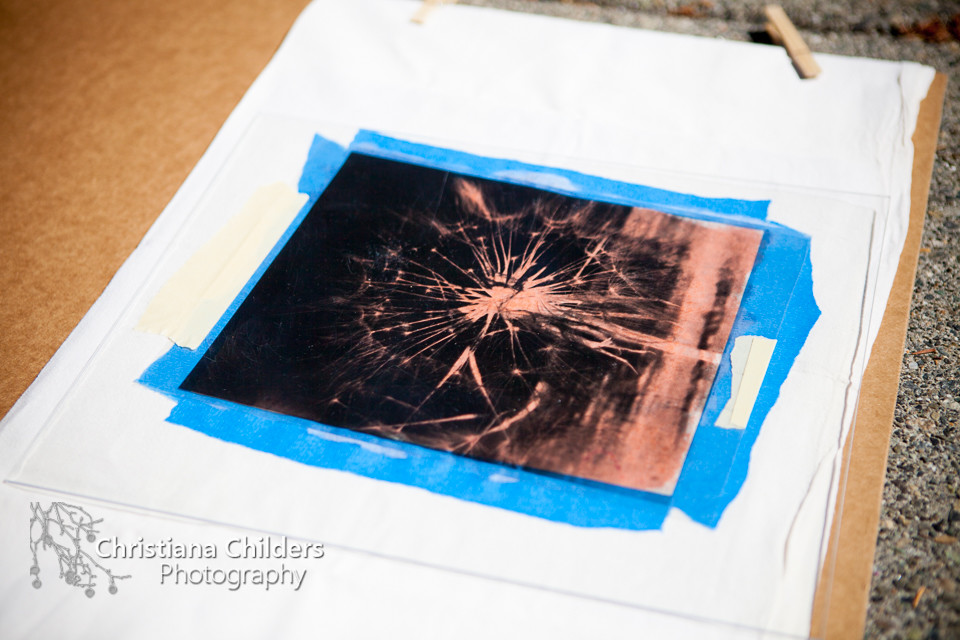
It worked well to have a sheet of Plexiglas to weight the image down.
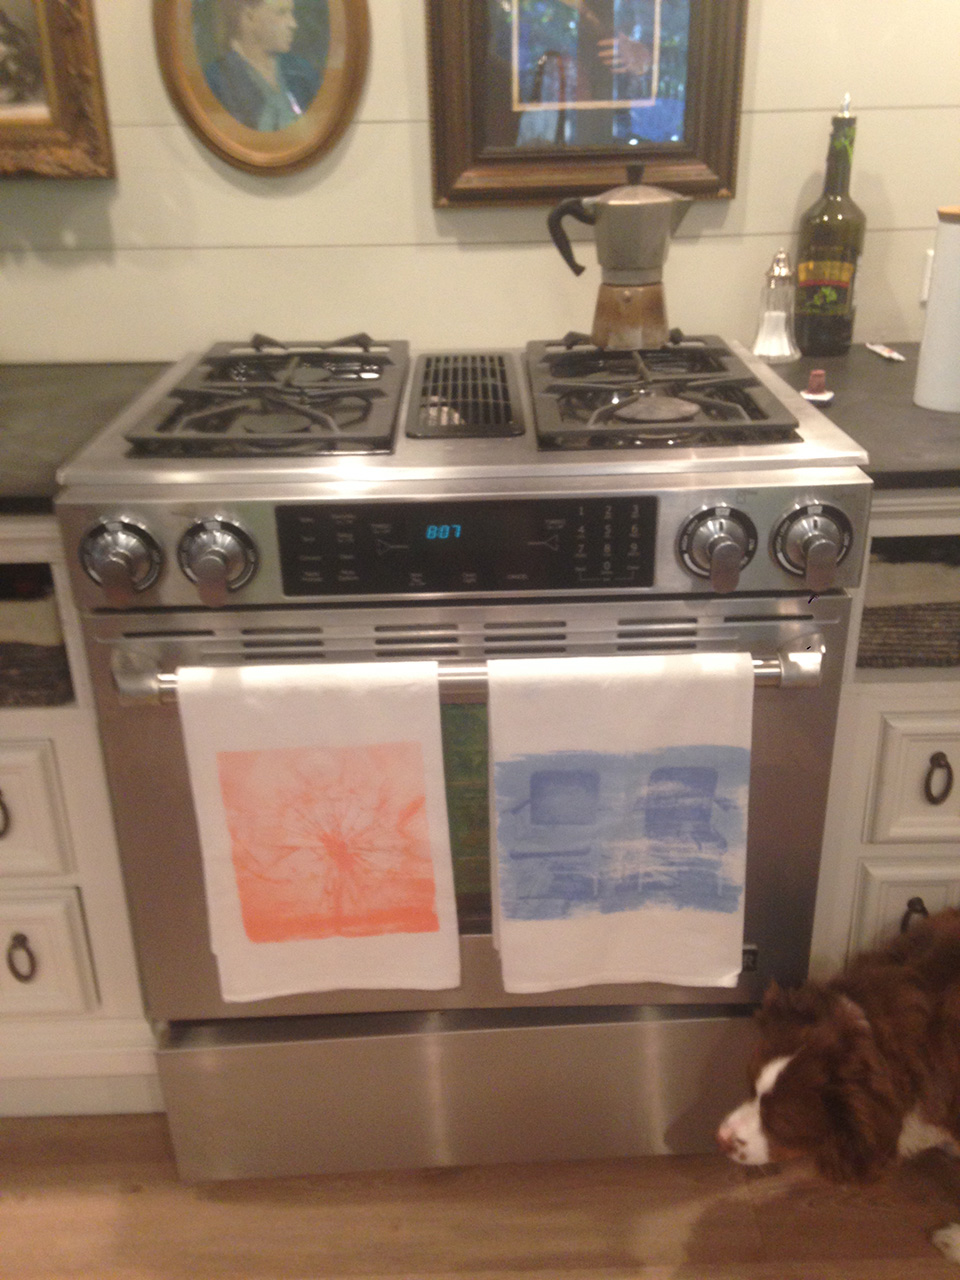
I got so excited with the end product though that I forgot to take pictures before I gave them as a gift to Lora. Silly me. But she did snap a photo on her phone of the towels in their new home! (That’s Kiwi in the lower right. My second favorite dog! :)
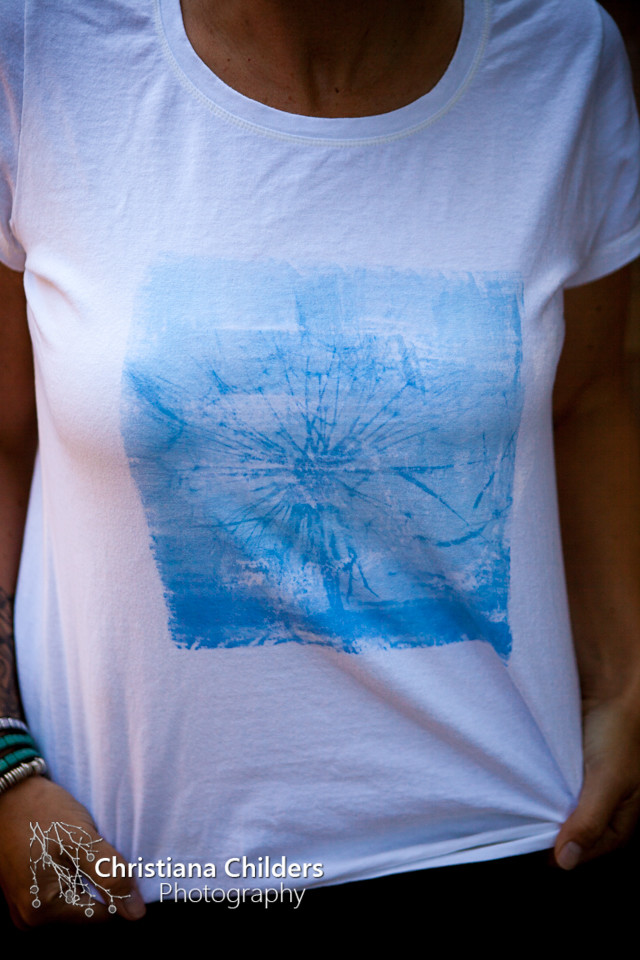
Here’s the T-shirt I printed with the dandelion but with the blue ink –
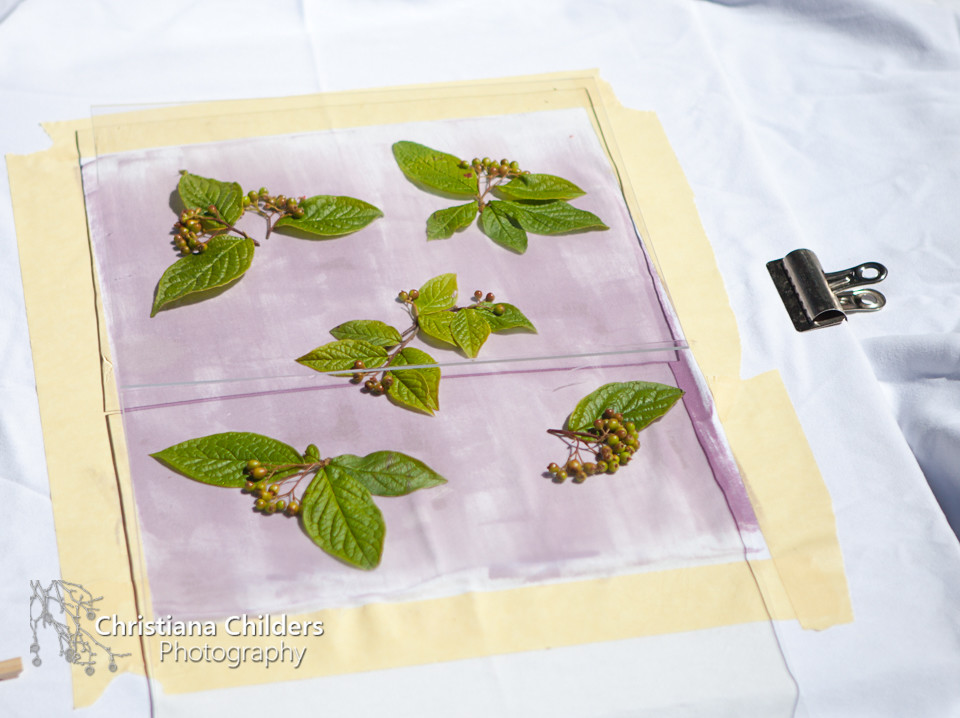
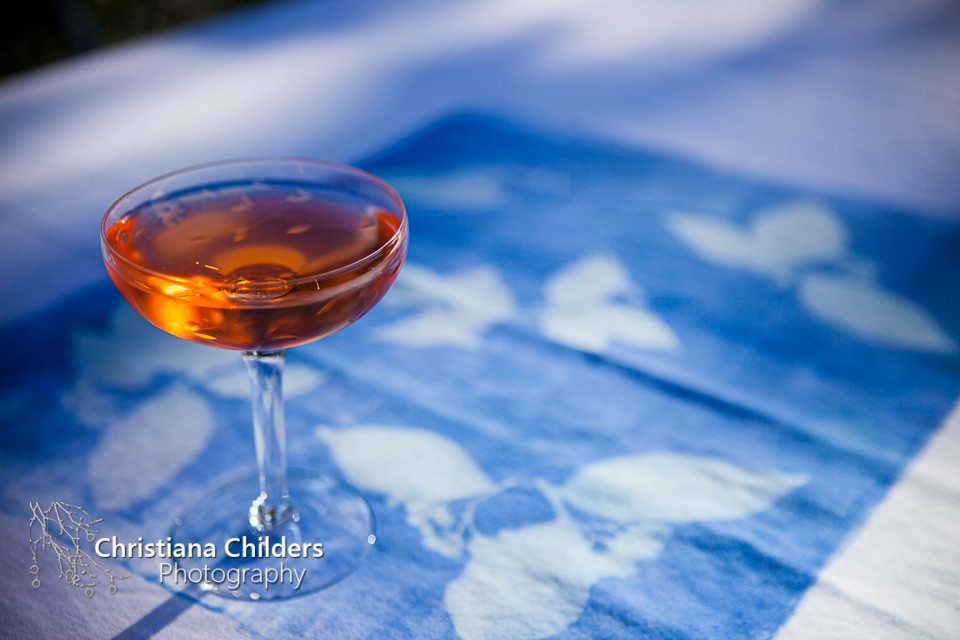
And because I couldn’t stop, here’s another one without photos this time plain white table cloth and some leaves and berries from a bush in my back garden.
I’d love to see some of your Inkodye projects! Please share!